 Quick Navigation
 All projects
  Hardware
 Links
Links Top projects
Alan numitron clock
Clapclap 2313/1386
SNES Pi Webserver
USB Volume/USB toys
Smokey amp
Laser cutter
WordClock
ardReveil v3
SNES Arcade cabinet
Game boy projects
cameleon
Home Presence Detector
 GitHub
AlanFromJapan
 Contact me
 Who's Alan?
Akizukidenshi
Elec-lab
Rand Nerd Tut
EEVblog
SpritesMods
AvrFreaks
Gameboy Dev
FLOZz' blog
Switch-science
Sparkfun
Suzusho
Datasheet Lib
Reddit Elec
Ermicro
Carnet du maker (fr)
dns server at home
Last update: Tue Feb 17 20:52:01 2026
 Who needs a DNS server at home? Well, guys with a mostly linux ecosystem, tired of calling their servers by IPs, a good Japanese main router that unfortunately lacks that function and who searches for a good excuse to play with Linux. And the additional "performance improvement".
Presentation
Principle
Normally, you LAN/Wifi router does the DHCP and DNS. Mine is an idiot, it does DHCP but not DNS. And no, I can't flash it with DD-WRT (my other DMZ and else routers are under DD-WRT). And no, I don't want to change if for a newer one because it works perfectly otherwise and I don't want to redo all the settings on a new router. Once it will die of old age yes, but not if I can avoid.So,there's going to have a small Raspberry Pi connected to the router and it will be the DNS cache and service for the whole home NW. Basically, it will:
Points of interrest
Implementation
Bill of materials
Schematics
Setup
USB EthernetThe one I bought (like 3 USD delivered) is a Kontron DM9601 based one and contrary to what Internet might say, it works flawlessly so far (now the kernel module was fixed). Just plug it and boum, eth0 appears in ifconfig list.
After that you can turn off the wifi (if Raspi ZeroW) with sudo ifconfig wlan0 down (temp fix, TODO add permanent fix here).
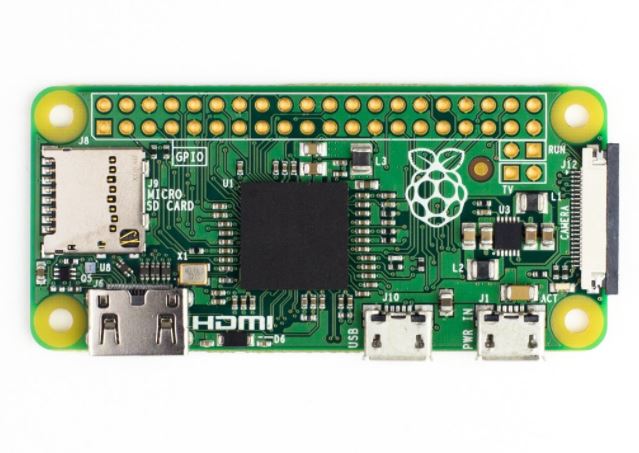
USB OTG on the cheap
You don't want to pay 77 JPY for a cable delivered? (seriously?) Or you just need to put some USB stuff on your Zero now? Solder an USB female connector to the solderpads on the bottom, though only 4 wires you get a regular USB port (not OTG). Did that on mine, D+/D- are a bit close so don't make a solder bridge but that's average solder level job.
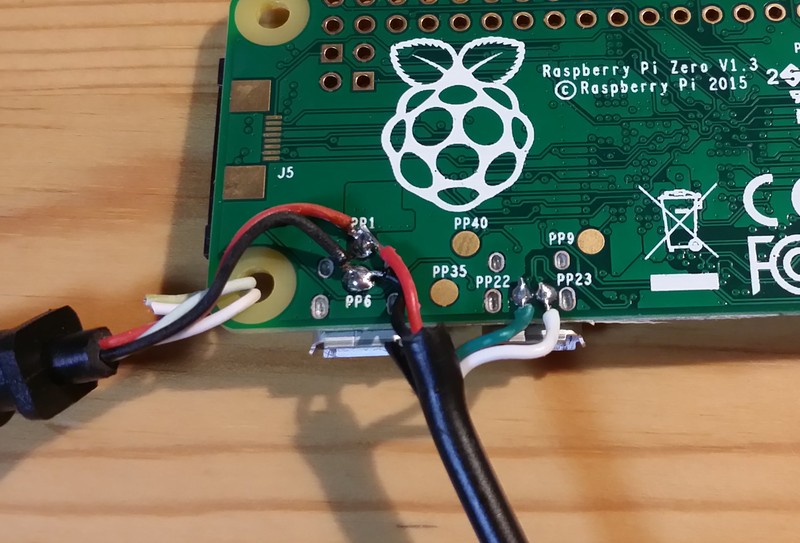
Left cable is for Power (you can see the data wires unplugged) and bottom is the USB de-OTG-ized
Steps
- sudo apt-get install dnsutils dnsmasq htop emacs-nox
italic ones are non-mandatory - sudo service dnsmasq stop
- sudo emacs /etc/dnsmasq.conf
- Just change one line to tell it to read sub-config files in /etc/dnsmasq.d/
conf-dir=/etc/dnsmasq.d - Make your custom config file in /etc/dnsmasq.d (in my case local.dnsmasq)
- Edit your local.dnsmasq as below:
# config file for DNSMASQ for home
# Alan 20170818
#
# Taken from https://www.raspberrypi.org/forums/viewtopic.php?t=46154

############################################################################################
##  Domain so that all servers are xxxx.at.home
#
domain=at.home


############################################################################################
##  File for the named resolutions
#
# Change this line if you want dns to get its upstream servers from
# somewhere other that /etc/resolv.conf
#resolv-file=/etc/resolv.dnsmasq.conf
# ==> don't use the above it doesn't work for forcing some fixed IPs. Use the below addn-hosts

# If you don't want dnsmasq to read /etc/hosts, uncomment the
# following line.
#no-hosts
# or if you want it to read another file, as well as /etc/hosts, use
# this.
addn-hosts=/etc/dnsmasq.hosts


############################################################################################
##  Fallback DNS servers
#
# Google
server=8.8.8.8
server=8.8.4.4


############################################################################################
##  Other settings
#
# Max cache size dnsmasq can give us, and we want all of it!
cache-size=10000

# Set this (and domain: see below) if you want to have a domain
# automatically added to simple names in a hosts-file.
expand-hosts
- Make a file /etc/dnsmasq.hosts where you will put your custom DNS entries (or you can put it in the hosts file of the server, up to you). Format is:
192.168.0.123 fileserver
192.168.0.11 router - Restart the service sudo service dnsmasq restart
- Test with dig fileserver.at.home and you should see in the trace 192.168.0.123
- Change the settings of your other PC or router to use your new DNS server and you're good to go.
- Now go to your router and tell it to use your DNS server. Usually it's by editing the list of DNS server (primary & secondary) and/or doing that by domain like with mine where I registered that for whatever "at.home" request, ask my new DNS server.
Setup the DNS server on your Linux
Linux mint 19.2:/etc/resolv.conf add at the top nameserver 192.168.0.2 (the IP of the new DNS server)sudo service networking restart/etc/network/interfaces and add/complete:
dns-nameservers 192.168.0.2 8.8.8.8 8.8.4.4
/etc/systemd/resolved.confDNS=192.168.0.2 8.8.8.8 8.8.4.4 in the [Resolved] sectionPictures
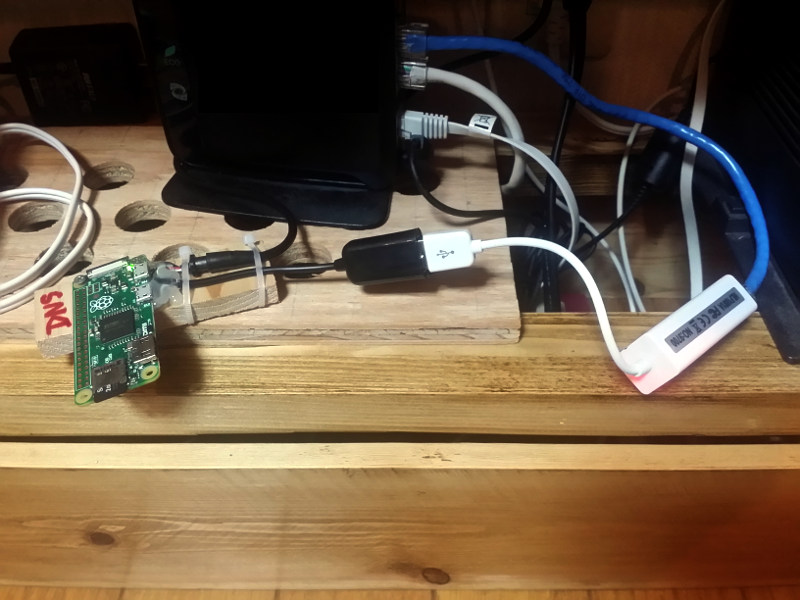
The final result: the Raspi Zero on the left hotglued on a piece of wood for stress release on the wires, the USB Ethernet adapter on the right (the white thingy with a red light glowing inside) and the main router in the back. The Raspi is powered by the router which has a USB port for external HDD which I didnn't use ... 'till now.
Links
Helpful sources
Inspiration
electrogeek.tokyo ~ Formerly known as Kalshagar.wikispaces.com and electrogeek.cc (AlanFromJapan [2009 - 2026])